Hello back!
Let’s explore some optimization tricks that can further propel your website into the fast lane.
1. Limit Revisions: A Leaner Database
When you save a page or post in WordPress, it creates a revision, which is stored in the database. They are helpful in case you need to revert to a previous version of your content, but if there are too many, they will bloat your database.
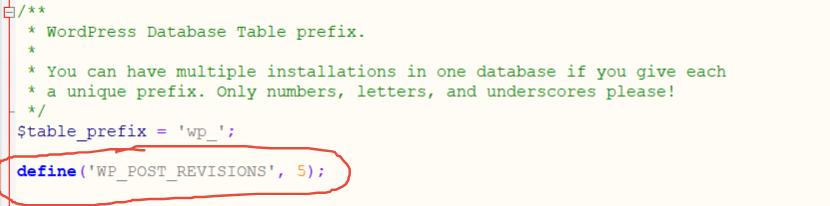
We recommend limiting the number of revisions to 5. You can do that by adding the following line of code in the wp-config.php file, at the root of your WordPress website:
define('WP_POST_REVISIONS', 5);
2. Disable or Limit WordPress Heartbeat
Heartbeat allows your browser to communicate with the server. This makes AJAX calls every 15 seconds or every minute, depending on the page. And uses server resources (CPU) which slows down the visitors’ requests.
In order to stop the Heartbeat completely, add the following code to the functions.php file of your active theme:
add_action( 'init', 'stop_heartbeat', 1 );

function stop_heartbeat() {

wp_deregister_script('heartbeat');

}
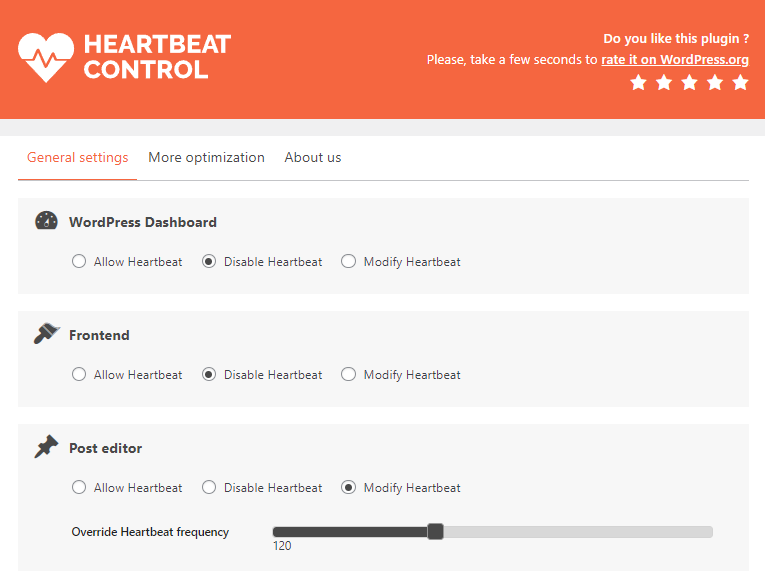
In case you are using a page builder and you encounter errors when you are editing a page in admin, then you should disable WordPress Heartbeat in the frontend/backend, then limit the post editor to 60-120 seconds. You can do this by using the Heartbeat Control plugin.
After installation, go to the General Settings and disable Heartbeat in the WordPress dashboard, frontend, and limit it in the post editor.
3. Disable WP-Cron: Minimize Server Load
By default, the wp-cron.php fires on every page load, which on high-traffic sites can be very resource-intensive. And for example, if a site doesn’t have a lot of traffic, schedules could be missed due to the fact that no one accessed any page.
To disable WP-Cron, add the following code to your wp-config.php file:
define ('DISABLE_WP_CRON', true);Now that you disabled the WP Cron, you’ll have to schedule a system cron instead. If you are on a VPS and have full access and control to the server, you can find tutorials online about how to schedule cron jobs on Linux.
But if you have a shared hosting with cPanel, login to cPanel and in the Advanced section, click on Cron Jobs.
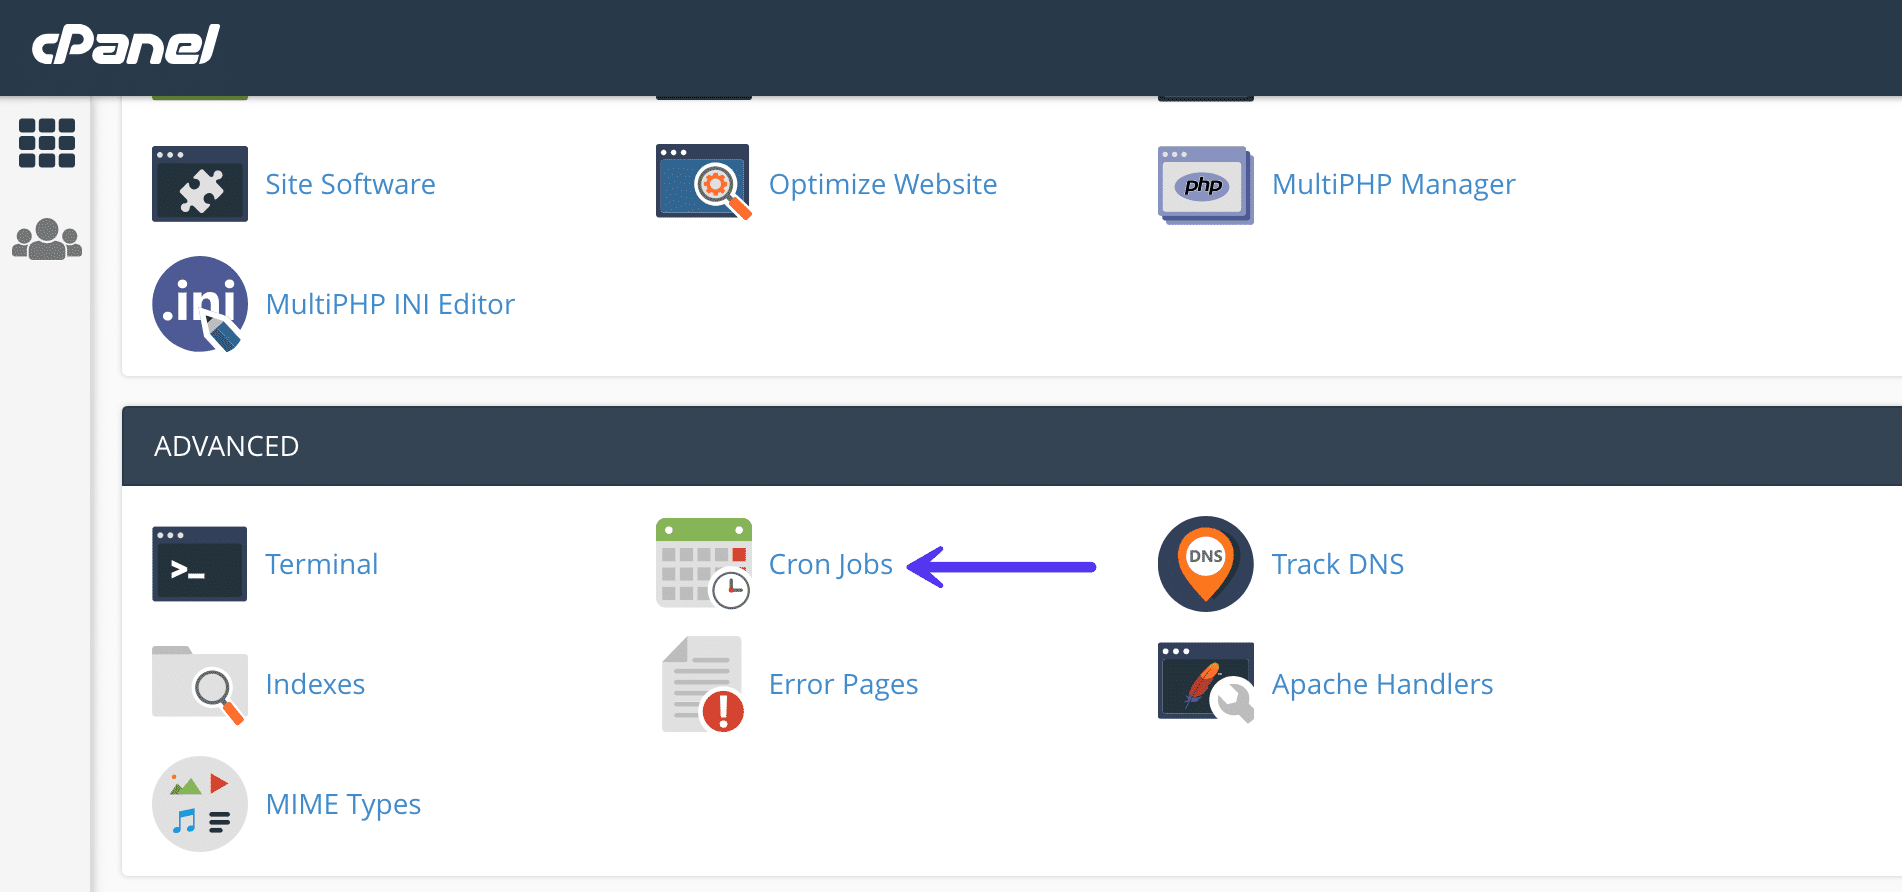
Under the Add New Cron Job section, you can choose from a number of different pre-defined schedules. Once per day should work just fine in most cases and situations.
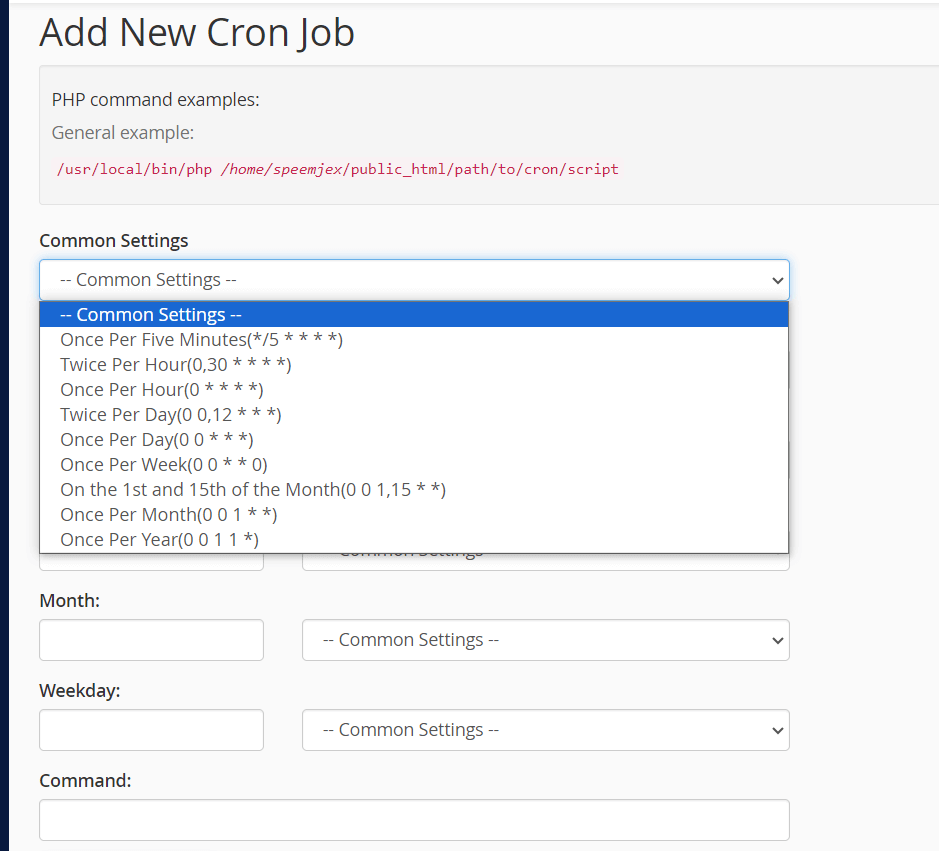
In the command field, add the following command (replace https://domain.com with your domain):
wget -q -O - https://domain.com/wp-cron.php?doing_wp_cron >/dev/null 2>&1
Then click on “Add New Cron Job”.

4. Disable the “fileinfo” extension
The PHP “fileinfo” extension is resource-intensive and is not required by most WP websites. This is responsible for determining the file type during uploads.
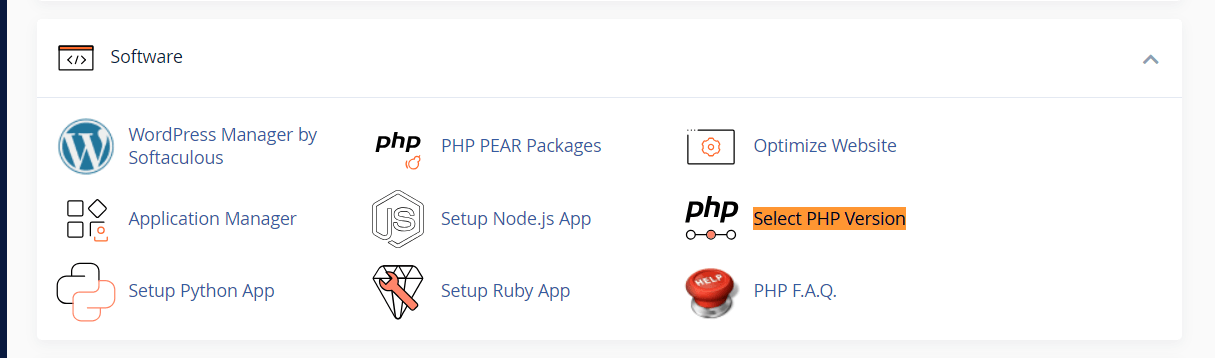
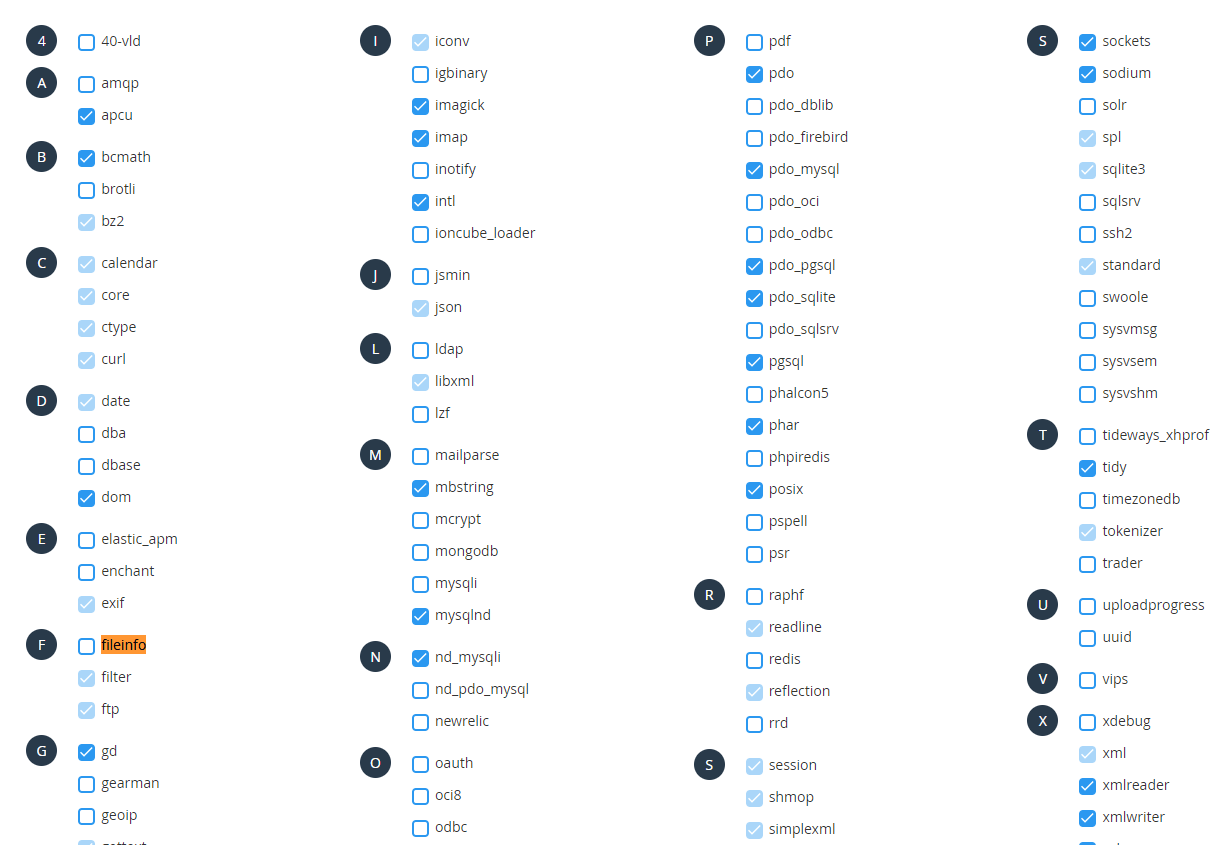
In cPanel, locate the tool “Select PHP Version”. Once you open it, find “fileinfo” in the extensions list and uncheck it.
5. Memcached Object Caching: Speedup Database Queries
Integrate Memcached, a powerful object caching system. By storing database queries in the server’s memory, you cut down on redundant queries, dramatically enhancing response times.
This is done in the same manner as the previous point – enable it in the list of PHP extensions. If you don’t have it in the list of extensions, you should contact the web hosting support to enable it, if it’s not already enabled.
6. Go for LiteSpeed web server
LiteSpeed web server is faster than both Apache and Nginx so we advise choosing a web hosting company that uses LiteSpeed or switching to such a web hosting company, if yours doesn’t use LiteSpeed.
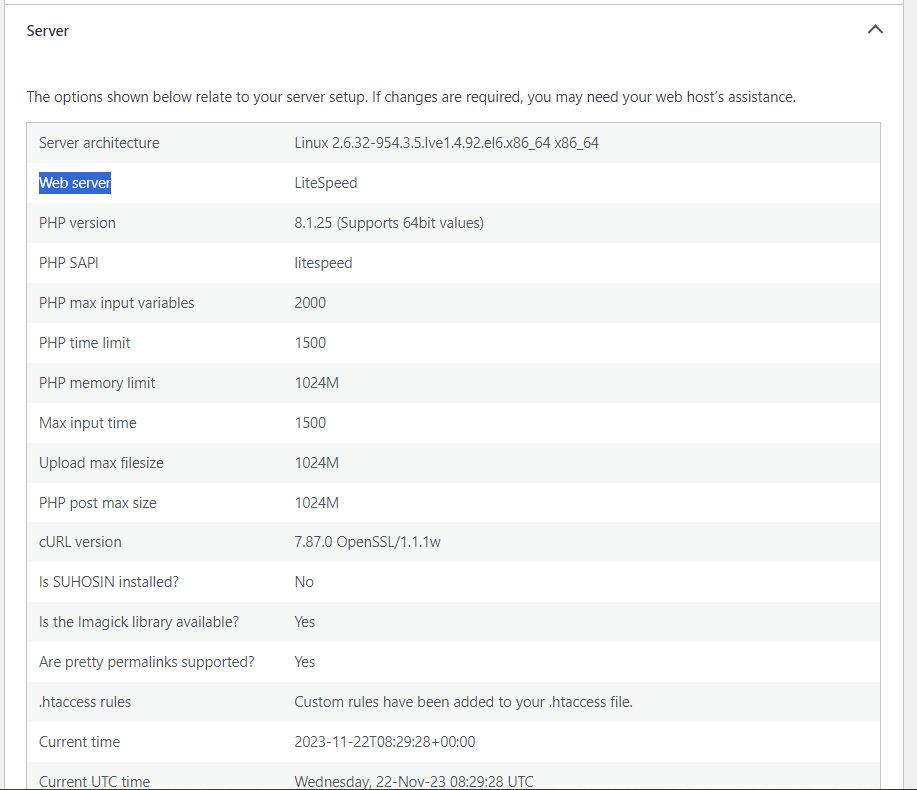
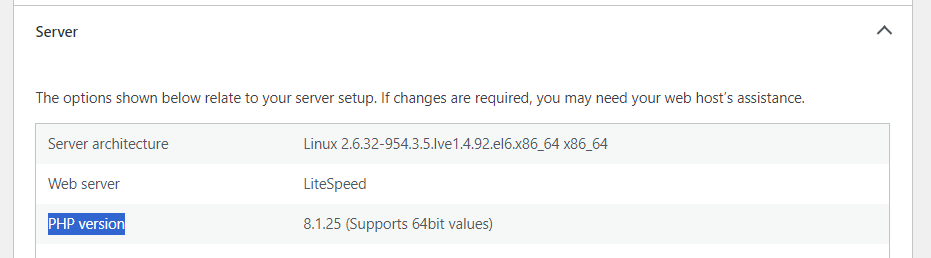
In order to check if your website runs on LiteSpeed, go to your Site Health in admin (ex: https://domain.com/wp-admin/site-health.php?tab=debug – replace domain.com with your domain), open the Server dropdown and check for Web server .
7. Go for PHP 8.1
WordPress websites running on PHP 8.1 are 47.10% faster than those on PHP 8.0. Not to mention comparing to 7.x. So as in the previous point, check the PHP version the Site Health and Server dropdown, under the Web Server information.
If your PHP version is lower than 8.1, check if you can change the version in the cPanel, in the same section where the PHP extensions are (check point 4 from above).

Since many web hosting companies don’t use both PHP 8.1 and LiteSpeed, we recommend Namecheap as we never had any problem with them and they have good and fast support.
8. Use a CDN
A content delivery network (CDN) is a network of servers, distributed around the world, that cache content (mainly assets) that quickly serves the cached content from the server that is the closest to the end user.
Setting up a CDN is a subject for an entire article by itself. So we’ll not go through this process now, but we can recommend using either Cloudflare CDN or QUIC.cloud CDN together with the LiteSpeed Cache plugin. QUIC.cloud CDN is faster, with better technology behind it and built especially for LiteSpeed Cache.
Here you can find a guide on how to use and integrate the two.
Conclusion:
Your WordPress site is now equipped with even more performance-boosting optimizations. You’ve now set the stage for an exhilarating user experience.
Step on the gas and enjoy the speedy result!